In this guide, we will show you the steps to downgrade your iPhone from iOS 18 to 17. In the recently concluded WWDC event, Apple took off the lid from the latest OS build for many of its devices. Right from its smartwatch to Vision Pro or Mac, all these new OS have something new in store for the masses. However, it’s the eighteenth iteration of the OS for its iPhone that has managed to catch the attention of the masses.
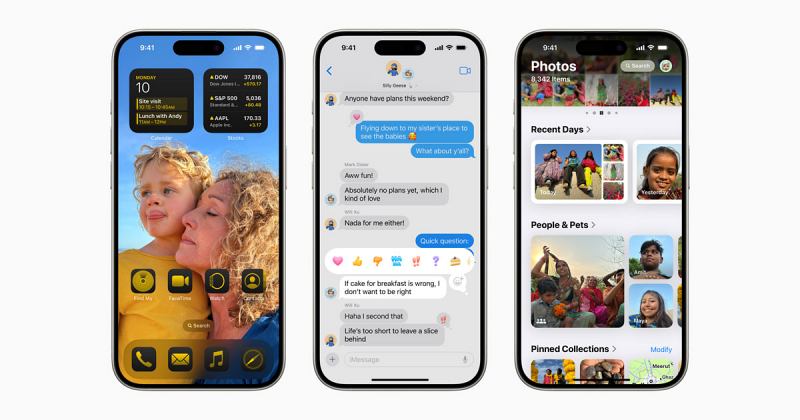
There has been a slew of intriguing goodies that you are about to welcome to your device. Some of the noteworthy ones include the ability to change home screen icons, theme them based on the dominant color of the wallpaper, change lock screen options, app lock, customizable control center, tweaks to iMessage, Photos, and Control Center, and Apple’s very own AI.
So with such a slew of intriguing goodies and the fact that even Apple’s testing builds are stable enough to be tried as a daily driver, users’ anticipation is at an all-time high to try this developer preview build on their iPhone. However, before you jump onto this bandwagon, you’ll have to keep an important point in mind: the update is in the early stages, so a few bugs and issues are on the cards, both in the Developer Preview as well as Beta builds.
Apart from that, you might also face performance issues, including but not limited to device overheating, excessive battery drainage, and apps not functioning along the expected lines. So in all these cases, your best bet is to rollback the OS to its earlier stable build. And in this guide, we will show you how to do just that. So without further ado, let’s get started with the steps to downgrade your iPhone from iOS 18 to 17. Follow along,
How to Downgrade iPhone from iOS 18 to 17
Before starting, we would like to discuss an important point regarding the backup and restore. If you have created a backup on iOS 18 Beta, then you cannot restore it on the iOS 17 stable [Apple never allows restoring the beta backup made on a stable build]. Therefore, you should either manually back up the data on iCloud/other cloud services.
Or, you can also restore the data that you had made before updating to iOS 18 beta. Moreover, in this guide, we will be using a Mac, so the downgrading process will be done via Finder. If you are using Windows, then you’ll have to install iTunes to carry out the downgrade. So with that in mind, let’s get started with the steps.
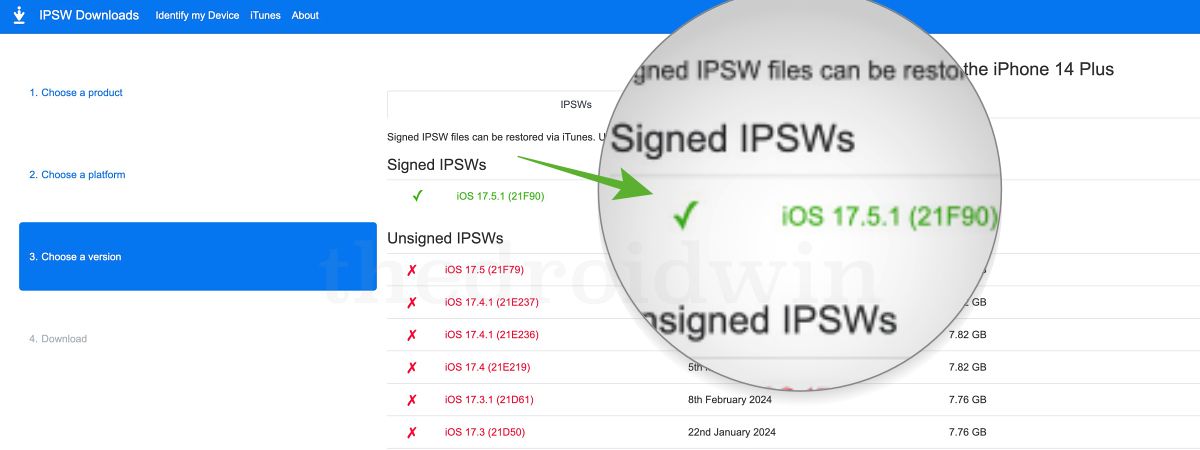
- Head over to the IPSW website and download the iOS 17 firmware for your iPhone.
- Make sure to download the signed version [which is green in color].
- Now on your iPhone, go to Settings > Face ID and Passcode > Type in your passcode.
- Then go to Stolen Device Protection and turn it off.
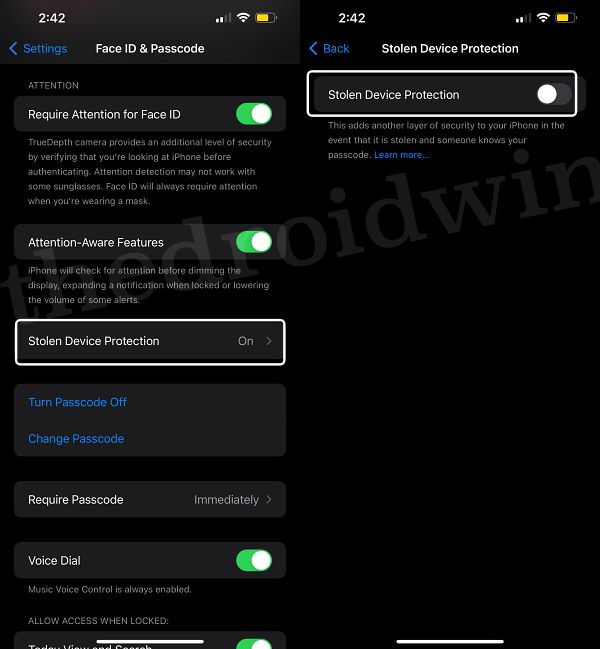
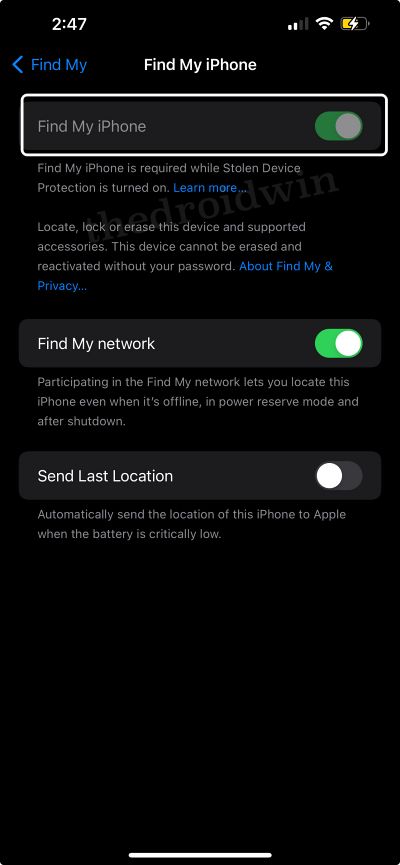
- Once done, go to Settings > Your Name > Find My > Find My iPhone > Turn it off [Greyed out? See FAQ below].
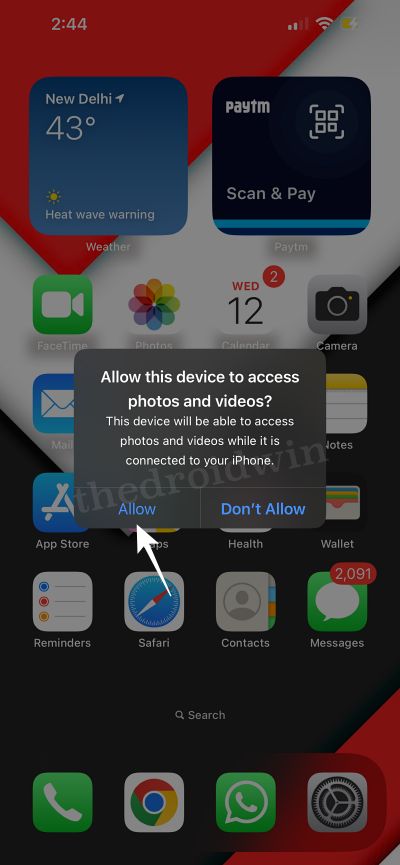
- Now plug in your iPhone to your Mac/Windows PC. Tap Trust on your iPhone if asked.
- Open Finder on your Mac or iTunes on a Windows PC.
- Then select your iPhone from the left-hand side under Locations in the Finder window.
- Now press and hold the Options key [on your Mac] or Shift key [on your Windows].
- While holding the said key, click on Restore iPhone. Then select the iOS 17 firmware.
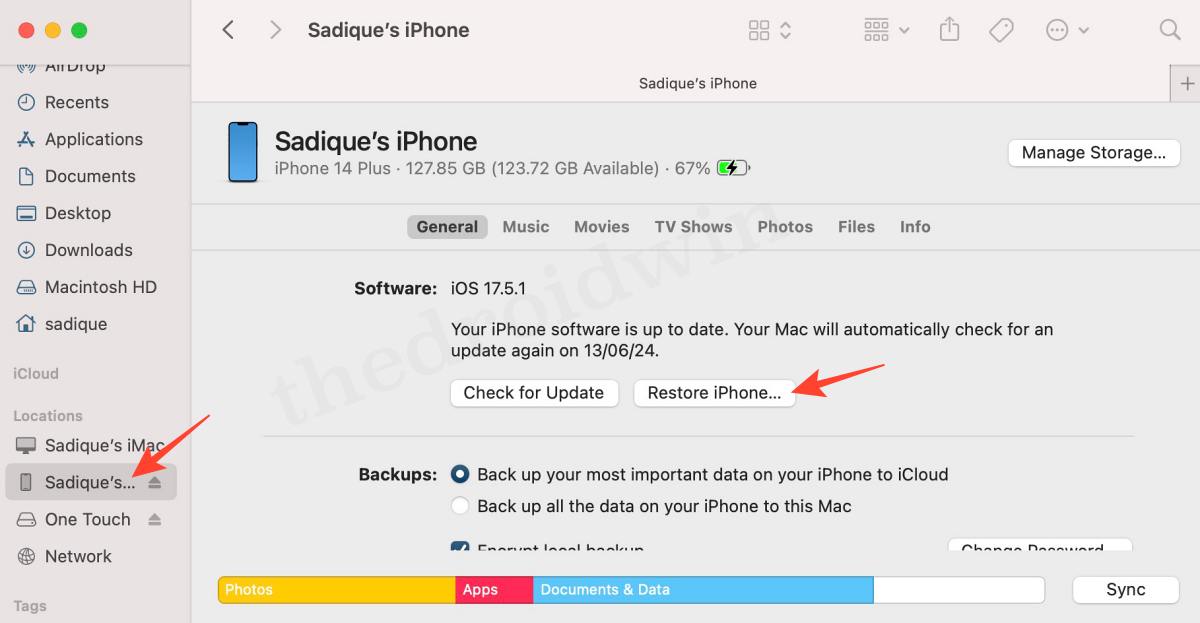
- Finally, select Open > Restore. The process will now start and could take a while.
- Once done, your device will boot to the downgraded OS on the setup screen. That’s it.
These were the steps to downgrade your iPhone from iOS 18 to iOS 17. If you have any queries concerning the aforementioned steps, do let us know in the comments. We will get back to you with a solution as soon as possible.
Fix Cannot Disable Find My iPhone For Downgrading iPhone
For downgrading your iPhone from iOS 18 to 17, one major prerequisite is to disable the Find My iPhone feature. However, there have been a few reports wherein users are unable to turn off Find My iPhone because it is greyed out. If you are also in the same boat, then fret not. All that you need to do is turn off Stolen Device Protection from Settings > Face ID and Passcode and then you’ll be able to turn off Find My iPhone from Settings > Your Name > Find My without any issues.