There have been many incidents in the past wherein the OEM rolled out a software update that ended up crashing the system or user app. In some instances, things have even taken a turn for the worse and the device ended up in a softbrick or bootloop state. Dealing with these issues while tinkering with the device is one thing but having to go through it when there’s no fault of yours is quite an infuriating experience.
So what could be done in such an instance? Well, the best course of action will be to downgrade the OS of your Android device to an older working build that is free from the issue. However, the OEM might take a few days to even weeks before it rolls out a patch to address this bug. Even when the patch gets released, users whose devices are already bricked will not even be able to install it in the first place.
Likewise, there have been a few instances wherein even the released patch doesn’t tend to spell out success for the users and they have to again play the waiting game till the OEM rolls out a secondary update. Under all such circumstances, users might have to take matters into their own hands and roll back their device to its earlier working state. And this guide will list out the steps for the same. Follow along for the instructions.
How to Downgrade the OS on any Android Device
The below process will wipe off all the data from your device, so take a complete device backup beforehand. Thedroidwin will not be held responsible if something happens to your device or data after following these steps. Moreover, since the rollback steps are different for each OEM, we have listed them under separate sections. Make sure to refer to the one which corresponds to your device.
NOTE: Downgrading the OS requires an unlocked bootloader or at least the OEM Unlock option enabled. If your device isn’t able to checkmark either of these two requirements, then the only escape route is to use an unbrick tool, but for that, only OnePlus users will be able to get this job done right for now [other users might have to take their device to the service center and shell out bucks to address the issue].
The Prerequisites
These requirements are common for all three devices aka Pixel, OnePlus, and Xiaomi.
- To begin with, download and extract Android SDK Platform Tools on your PC.
- Force reboot your device to Fastboot Mode via the hardware key combinations.
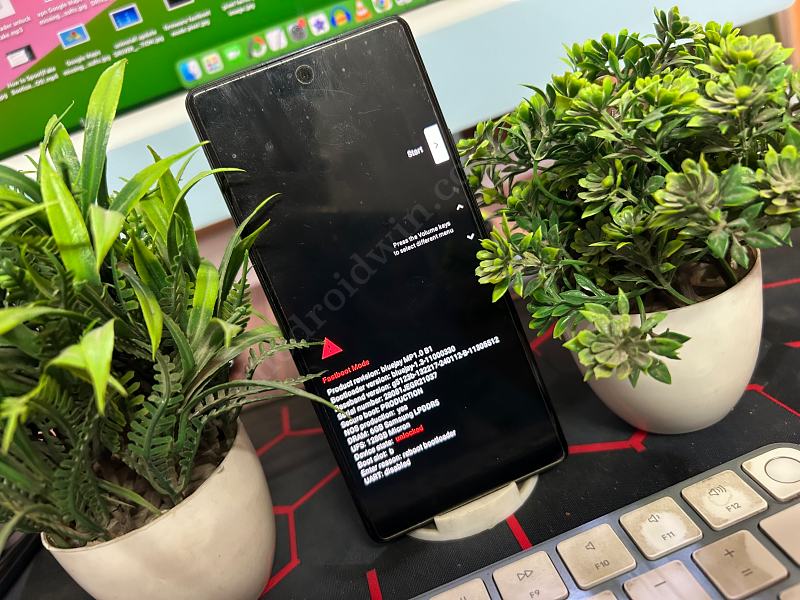
- Then connect your device to your PC via a USB cable.
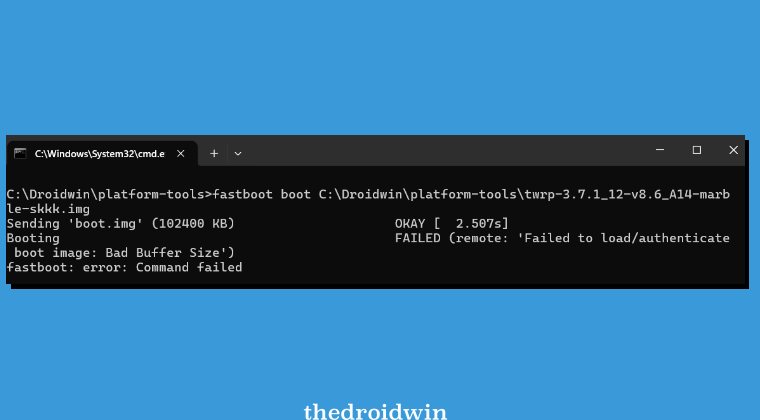
- Now open CMD inside the platform-tools folder and type in the below command:
fastboot devices
- If you don’t get any serial ID, then please install the Fastboot Drivers on your PC.
Pixel Devices
- First off, head over to the Android Flash Tool page and click on the Allow ADB Access.
- Then click on the Edit icon next to Selected Build and choose an older version of the OS.
- Also, checkmark Force Flash All Partitions and Wipe Device, whereas uncheck Lock Bootloader.
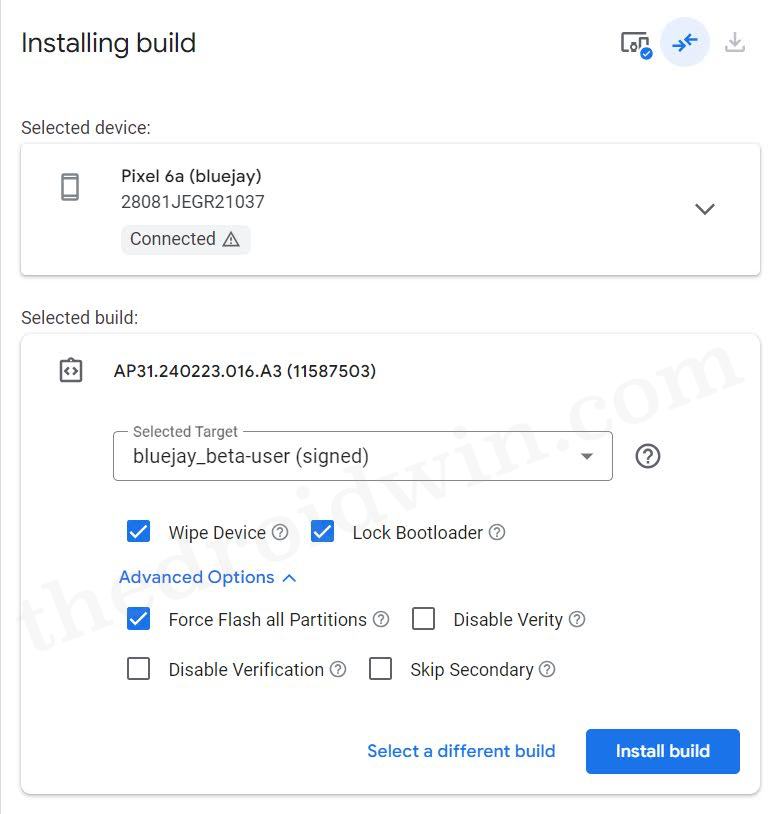
- Finally, click Install Build > Confirm. The flashing will now start and it could take a while.
- Once done, your device will reboot to the downgraded OS and the issue stands rectified.
OnePlus Devices
- Download the Fastboot ROM for your device from below:
OnePlus 7 [Android 9/10]
OnePlus 7 Pro [Android 9/10]
OnePlus 7T [Android 10]
OnePlus 7T Pro [Android 10]
OnePlus 8 [Android 11/12]
OnePlus 8 Pro [Android 10/11]
OnePlus 8T [Android 11]
OnePlus 9R [Android 11]
OnePlus 9 Pro [Android 13]
OnePlus 9 [Android 11]
OnePlus 10 Pro [Android 13]
- Then extract it to any convenient location on your PC.
- You should now see a batch file [install.bat, flash-all.bat, etc].
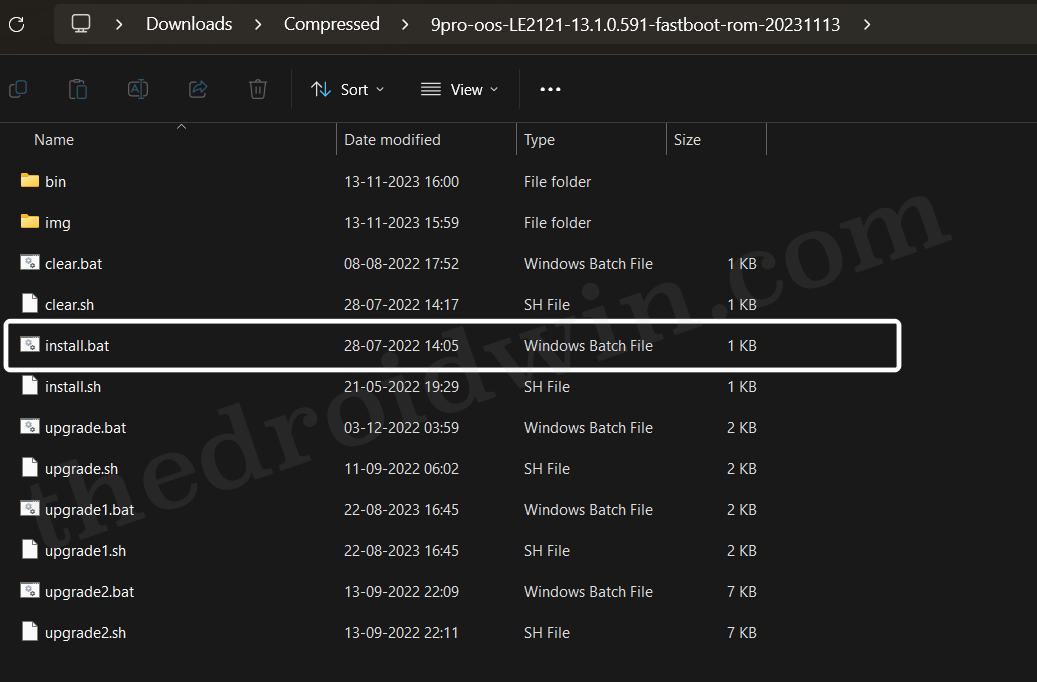
- Simply launch it and it will start the flashing process.
- Once done, your device will boot to the downgraded OS.
Xiaomi Devices
- First off, download an older version of the Fastboot ROM for your device.
- Then extract the .TGZ followed by the .TAR file via the 7ZIP software.
- Now download and extract the Mi Flash Tool on your PC.
- Then launch it and click on the Refresh button.
- Likewise, verify that your device is being shown there.
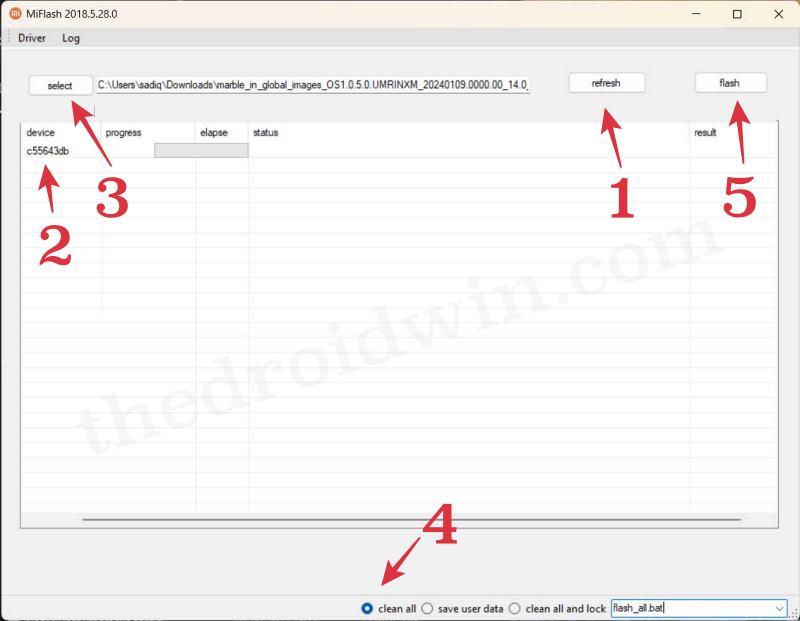
- Now click on Browse, navigate to the extracted Fastboot ROM folder, and select it.
- At the bottom right, select clean_all.
- Finally, hit Flash and wait for the flashing to complete.
- Once done, your device will boot to the downgraded OS.
That’s it. These were the steps to downgrade the OS of your Android device. Still, have any doubts? The comments section is all yours, make your voices heard there and we’ll chalk out the best fix for you.