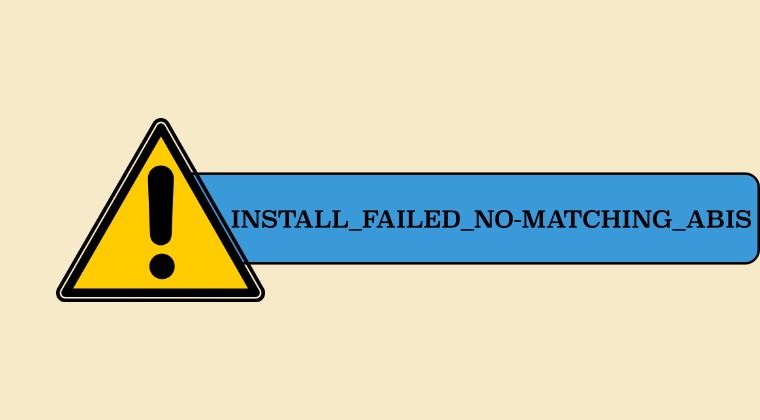
In this guide, we will show you a nifty workaround that should help you fix the INSTALL_FAILED_NO-MATCHING_ABIS error. The Android ecosystem has seen some massive changes over the past couple of years. From the introduction of dual partition scheme [such as vendor_boot_a and vendor_boot_b] to Project Treble, from the addition of FastbootD [where you flash dynamic partition files like super.img] to the removal of the recovery partition, there have been some tectonic shifts in the landscape.
Recently we have seen the addition of two additional major changes- from Android 14 onwards, a minimum API requirement has been set, below which you will not be able to install any app. This requirement is set to Android 6 and hence if you try to install an app from Android 5 or older version, you wouldn’t be able to do so. Apart from that, beginning with the Pixel 7 series, you will no longer be able to install 32-bit apps either.
Instead, you could now only install apps that are part of the 64-bit architecture. However, do note that these two issues aren’t interlinked. Even if an app qualifies the minimum API requirement but is still 32-bit, you will still not be able to install it on a 64-bit device. And what about the INSTALL_FAILED_NO-MATCHING_ABIS error? Let’s first check out the root cause behind this issue after which we will list out the steps to rectify it. Follow along.
Reason for INSTALL_FAILED_NO-MATCHING_ABIS
The reason why you are getting the INSTALL_FAILED_NO-MATCHING_ABIS error is due to the fact that you are installing a 32-bit app on a device that has a 64-bit architecture. As already mentioned before, do keep in mind that this error has nothing to do with the app’s API level. Even if the app meets the minimum SDK requirement but is slated for 32-bit only, then you will be greeted with the aforementioned error message whenever you try to install that APK.
In other words, the bypass low target sdk command will allow you to only bypass the SDK version limitation, not the 32/64 bit-architecture one. While most of the apps are already part of this domain, there are still a few that follow the older architecture, which many users want to welcome abode on their devices. If you are among them, then this guide will make you aware of a nifty workaround that should help you rectify this issue. So without further ado, let’s check it out.
What is Magisk Zygote?
Magisk Zygote64_32 is a modification of Magisk and is primarily designed as a root solution for multilib Android devices that are Zygote64-only, such as the Pixel 7/8 series. [Credits: XDA Senior Member Namelesswonder].
Fix INSTALL_FAILED_NO-MATCHING_ABIS
To rectify this issue, we will be patching and flashing the boot/init via Magisk Zygote and not the base Magisk. So if your device is currently rooted, then we will have to first unroot it, then patch the file via Zygote, and finally flash it via Fastboot. However, do note that the below process will wipe off all the data from your device. But why is this the case?
This is because when a device is first booted with Zygote64, it can’t be switched over to Zygote64_32. As a result of this, the 32-bit libraries inside APEXs are not located and loaded by Zygote32. Therefore, you will have to do a factory data reset so that Zygote32 is able to load the required 32-bit libraries and thereby allow Zygote64 to switch over to Zygote64_32.
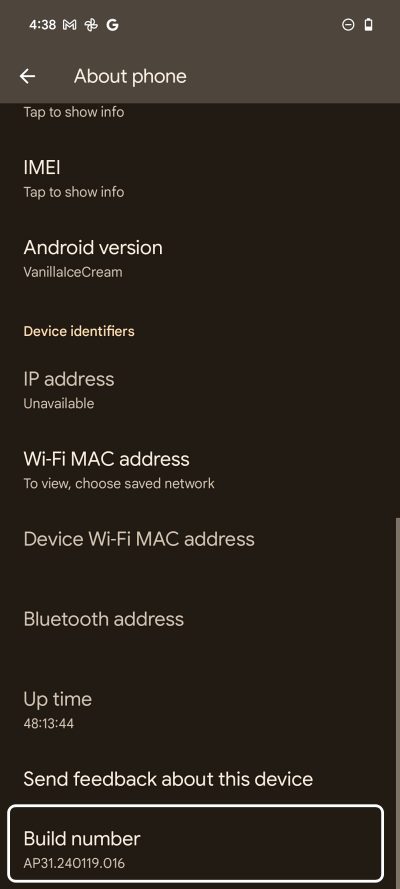
- First off, download the same firmware version that is currently installed on your device.
- You may verify the version by heading over to the Build Number/About Phone section.
- Then extract the boot/init_boot file from the stock firmware. Here’s how it could be done:
OnePlus: Use the Fastboot Enhance Tool to extract the payload.bin
Pixel: Use the built-in Windows Extractor to extract the ZIP file.
Xiaomi: Use 7ZIP to extract TGZ > TAR and go to the Images folder.
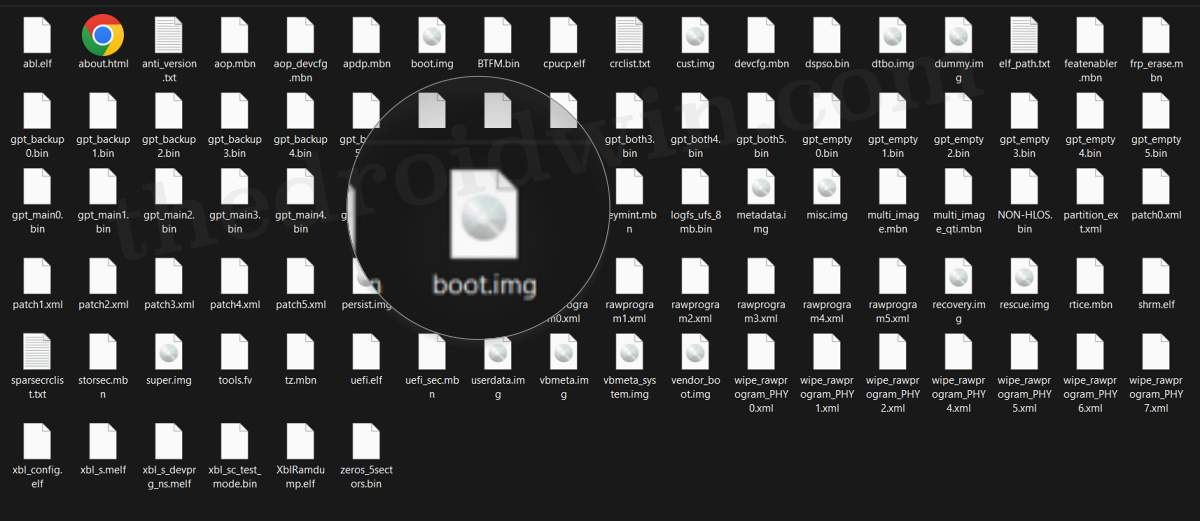
- Once you have got the boot/init_boot file, transfer it to your device.
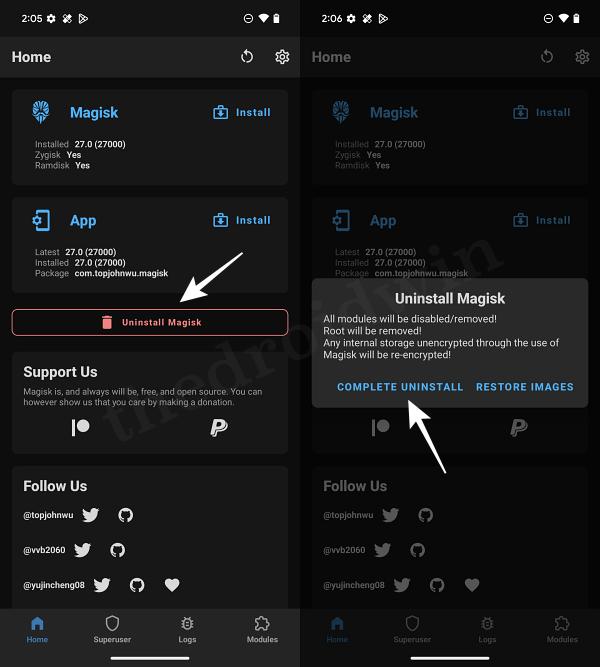
- You’ll now have to unroot your device because it is currently rooted via Magisk whereas we have to root it via Magisk Zygote.
- So launch Magisk, tap on Uninstall > Complete Uninstall, and wait for the device to restart.
- Now get hold of the Magisk Zygote file from the desired below links:
DIRECT DOWNLOAD | GITHUB PAGE | DOWNLOAD PAGE
- Then install Magisk Zygote. Now launch it and tap on the Install button next to Magisk.
- Choose‘ Select and Patch a File’, navigate to the boot/init_boot.img file, and then select it.
- Then tap on the Let’s Go button present at the top right. The boot/init_boot file will now be patched.

- Likewise, it will be placed under the Downloads folder on your device.
- So transfer this patched file to the platform tools folder on your PC.
- Likewise, rename the boot file to patched_boot.img whereas rename the init_boot to patched_init_boot.img.
- Now type in CMD in the platform-tools folder address bar and hit Enter. This will launch the Command Prompt.
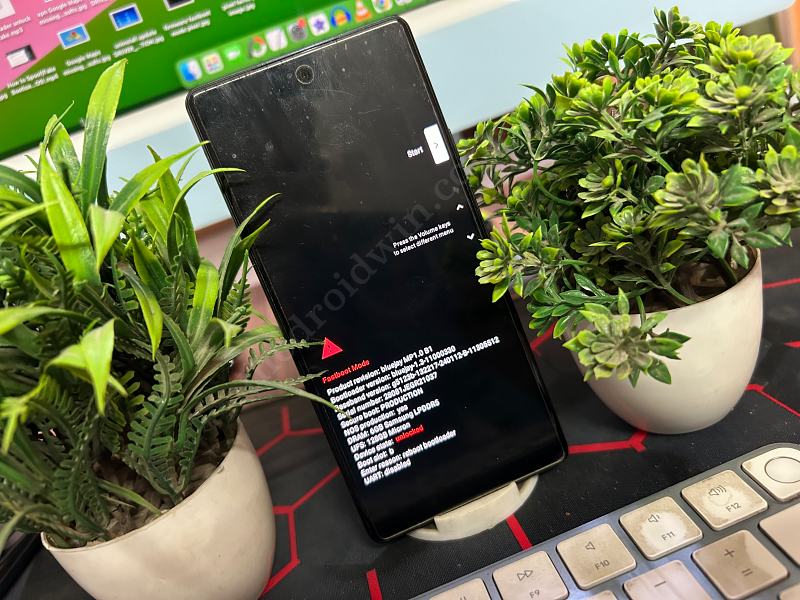
- Type in the below command to boot your device to the Fastboot Mode.
adb reboot bootloader
- Now type in the below command and make sure that you get a serial ID.
- If that is not the case, then make sure to install Fastboot Drivers on your PC.
- We will now be doing a format data and flashing the patched file along with it.
- So use the below command accordingly, depending on whether your device requires boot or init_boot.
fastboot -w flash init_boot patched_init_boot.img
fastboot -w flash boot patched_boot.img
- Once that is done, type in the below command to boot to the OS:
fastboot reboot
- Once your device boots up, install the Magisk Zygote64_32 app again and launch it.
- It will install the rest of the dependencies. Once done, tap Reboot.
- Your device will now boot up to the rooted OS and your task stands complete.
Go ahead and try installing the 32-bit app of your choice on your Android device, you will no longer face any issues whatsoever. Likewise, you will no longer be greeted with the INSTALL_FAILED_NO-MATCHING_ABIS error either. So on that note, we round off this guide. If you have any queries, then do let us know in the comments section. We will get back to you with a solution as soon as possible.
- How to Root any Android Device via TWRP
- Install OTA Updates on Rooted Android Device
- How to Enable VoLTE and VoWiFi without Root
- boot or init_boot: Which file should you choose for rooting?
How to Check if the Workaround is Successful
One obvious way of verifying whether the workaround worked out or not is to install the 32-bit app. Apart from that, you may also take a slightly technical router and perform this check via the below command:
getprop ro.zygote; getprop ro.vendor.product.cpu.abilist; getprop ro.vendor.product.cpu.abilist32
If you get the output as shown below, then your device will be able to run 32-bit apps without any roadblocks.
zygote64_32
arm64-v8a,armeabi-v7a,armeabi
armeabi-v7a,armeabi