
In this guide, we will show you various methods to fix the issue of an Android device being stuck in a bootloop. One of the biggest perks of having an open-source ecosystem like Android is the plethora of tweaks and customizations that you can carry out on your device. From flashing a customized firmware to installing a custom recovery, from gaining administrative privileges via root to overclocking the device’s CPU or GPU via a custom kernel, the possibilities stand endless.
While all this does sound great on paper, you should always keep in mind that there are two sides to every story. And same is the case here as well. While carrying out these tweaks does add a slew of intriguing goodies, but the steps to reach there are quite risky and just a slight deviation from the path can result in the device going into a bootloop or softbrick state.
In this regard, some of the most common reasons why you might face this issue are due to the flashing of the file to an incorrect partition, flashing an inaccurate version of the file, flashing a corrupt file, using boot instead of init_boot for the root, not disabling vbmeta, verification, and verity checks, among others. So if your Android device is also stuck in a bootloop due to any of these reasons [or the ones not listed here], then this guide is here to help you out. Follow along.
Fix Android Device Stuck in Bootloop
Do note that there isn’t any universal fix as such. You’ll have to try out each of the below-listed tweaks and then check which one works out in your favor. Moreover, some of these fixes will result in a data wipe as well [not that you could take a backup at this point in time, but still, it was worth mentioning]. So with that in mind, let’s get started. TheDroidWin will not be held responsible if something happens to your device or data after performing the below steps.
STEP 1: Download Android SDK Platform Tools
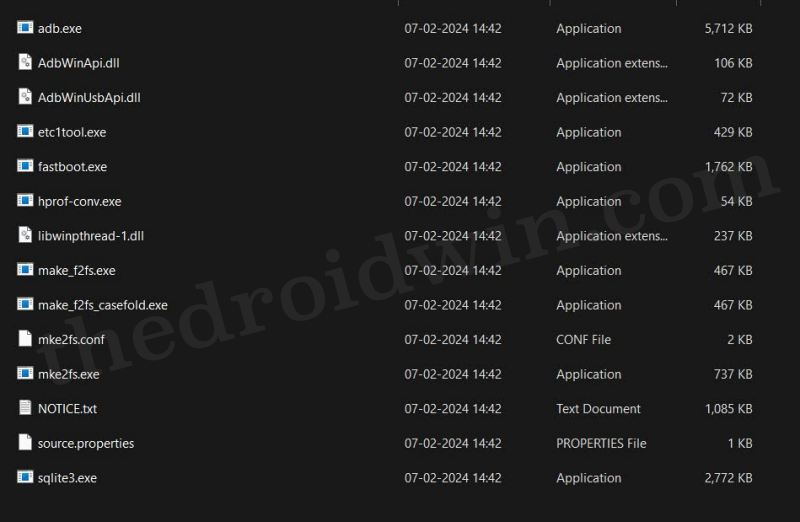
- To begin with, download and extract the Android SDK Platform Tools on your PC.
- Then go to its address bar, type in CMD, and hit Enter. This will launch the Command Prompt.
- This will also act as our working directory and we will execute all the commands in this window.
STEP 2: Download Stock Firmware
Next up, you’ll have to download the stock firmware for your device, it is highly recommended that you download the same version that is installed on your device. If you cannot check the same, then simply download the latest available firmware for your device. Moreover, download the Fastboot ROM instead of the Recovery ROM and download the full factory image instead of OTA. Once you have got hold of the firmware, here’s how to extract it:
- Pixel: Simply extract the firmware using the built-in Windows extraction tool.
- Xiaomi: Use 7ZIP to extract TGZ. This will give you a TAR folder. So extract the TAR using 7ZIP as well.
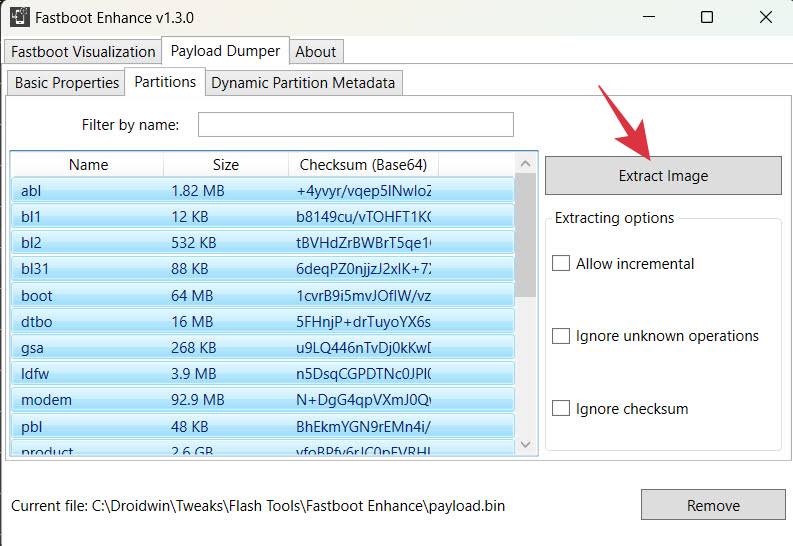
- OnePlus: Use the Fastboot Enhance Tool to extract the payload.bin file.
STEP 3: Force Reboot to Fastboot Mode
Since your device is in a bootloop, it’s obvious that you cannot use the adb reboot bootloader command to boot your device to Fastboot. Instead, you’ll have to take the help of hardware keys. For that, any one of the two below-listed methods should work in your favor:
- Long press the Power key to turn off your device. Then press and hold the Power and Volume Down keys until your device boots to Fastboot Mode. If that doesn’t work out, then try using the Volume Up key instead.
- Press and hold the Power and Volume Down keys till your device boots to Fastboot Mode. If that doesn’t work out, then try using the Volume Up key instead.
![]()
Once your device is in the Fastboot Mode, connect it to the PC via a USB cable. So with this, we have checkmarked all the prerequisites and we can now start with the implementation of the fixes.
FIX 1: Flash Boot.img
In most cases, a corrupt boot partition might prevent your device from booting to the OS. Therefore, you should flash the stock boot.img file to the boot partition and check if it works out for you. Here’s how it could be done:
- To begin with, transfer the boot.img from the extracted firmware over to the platform-tools folder.
- Then open the CMD window inside this folder and type in the below command to flash the boot.img
fastboot flash boot boot.img
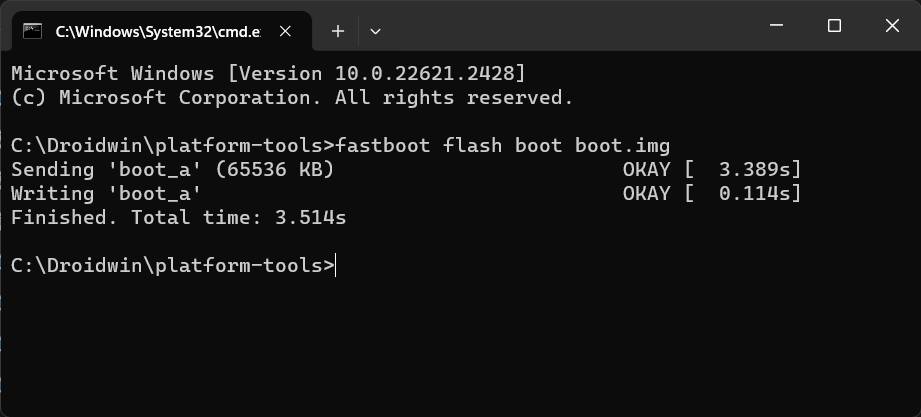
- Now type in the below command and check if your device boots to the OS or not:
fastboot reboot
FIX 2: Disable Verity and Verification
If you have flashed a custom binary, then it might conflict with the booting of the OS if you haven’t disabled the verity and verification checks. So let’s do that right away and check if it manages to fix the issue of your Android device being stuck in a bootloop:
- To begin with, transfer the vbmeta.img from the extracted firmware over to the platform tools folder.
- Then open CMD window inside this folder and type in the below command to disable the verity checks:
fastboot flash vbmeta --disable-verity --disable-verification vbmeta.img

- Now type in the below command and check if your device boots to the OS or not:
fastboot reboot
FIX 3: Reset Device
The issue might also arise if the data partition gets corrupted. In such cases, the only way out is to do a factory reset, which will wipe off all the data from your device. So if that’s well and good, then let’s get started with the below steps:
- Type in the below command in the CMD window to perform a data reset:
fastboot -w
- Now type in the below command to boot to the OS and check out the result:
fastboot reboot
FIX 4: Flash Firmware
If none of the aforementioned methods spelled out success, then your last course of action should be to reflash the entire stock firmware [this will also wipe off all the data from your device]. Here’s how it could be done:
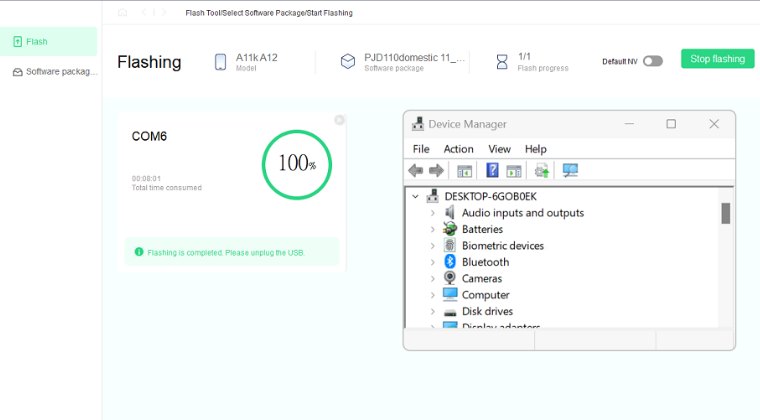
- If you own a Pixel device, then you may flash the firmware via the Android Flash Tool.
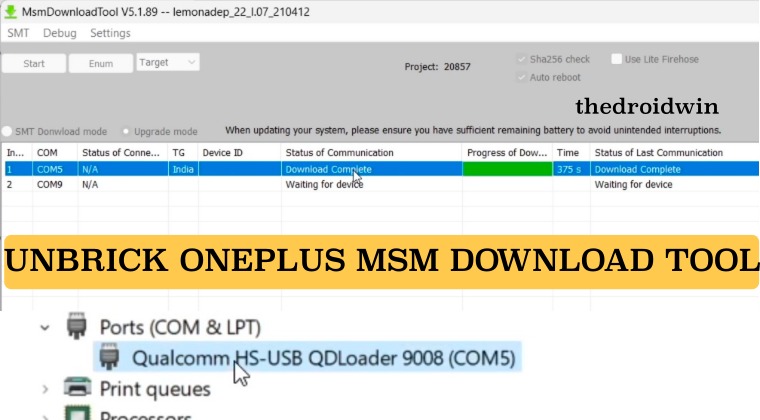
- In the case of OnePlus, you may extract the payload.bin via the Fastboot Enhance Tool and then flash it via Fastboot Commands. Make sure to flash the dynamic partitions files in the FastbootD Mode. Or you may also use the MSM Download Tool to unbrick your device.
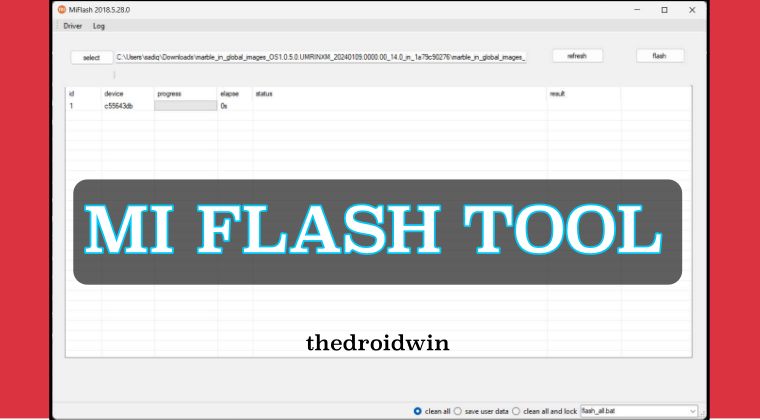
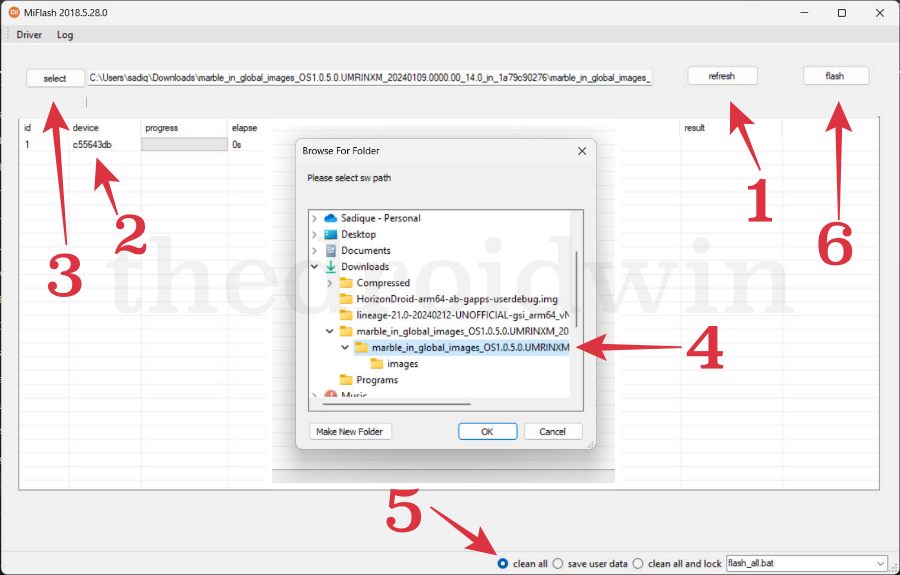
- If we talk about Xiaomi/Redmi/Poco, then you may flash the Fastboot ROM via the Mi Flash Tool.
That’s it. These were the various methods through which you could unbrick your Android device. If you have any queries concerning the aforementioned steps, do let us know in the comments. We will get back to you with a solution as soon as possible.