This guide will list four different methods through which you can boot your Android device to Recovery Mode [both stock and custom]. When you step into the custom development, then you might have come across the Fastboot Mode which allows you to flash numerous types of custom binaries onto your device [from all the partition files of the stock firmware to TWRP or even Magisk patched boot for root], though all these files should be in the IMG format.
Likewise, there’s a FastbootD Mode which gives you the option to flash dynamic partition files, including but not limited to the super.img file. However, the Recovery Mode is usually the one that silently goes under the radar more often than not. It has a slew of useful features up its sleeves that could come in handy under numerous circumstances. So without further ado, let’s have a look at the various benefits that Recovery Mode beholds after which we will list the steps to boot your Android device to this mode. Follow along.
Benefits of the Recovery Mode
There exists a plentitude of reasons as to why you would consider booting your device to this mode. Some of the most noteworthy ones include the likes of:
Delete Cache
If a lot of temporary data gets accumulated over the due course of time, then not only will it slow down the device, but it will also have an adverse impact on the overall functioning of the device. Therefore, your best bet is to delete those temporary data, which can easily be done via the Recovery Mode or by taking the help of ADB Commands.
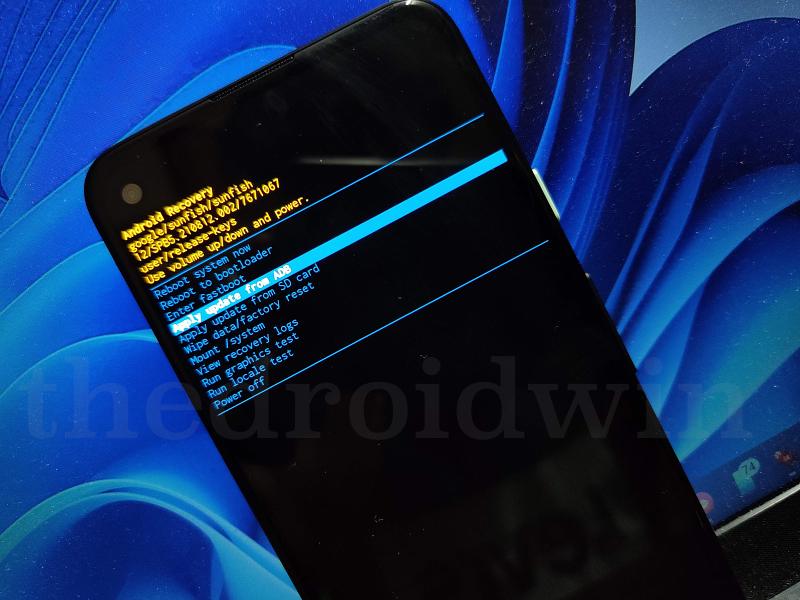
ADB Sideload
One of the best and most widely used case scenarios for the Recovery Mode is the ability to install official OTA updates via ADB Sideload. The process doesn’t require an unlocked bootloader. Likewise, it gives you the perfect opportunity to skip the OTA update waiting queue as you could directly sideload the update ZIP file onto your device. However, do note that you could only sideload OTA images and not the entire firmware [in most cases].
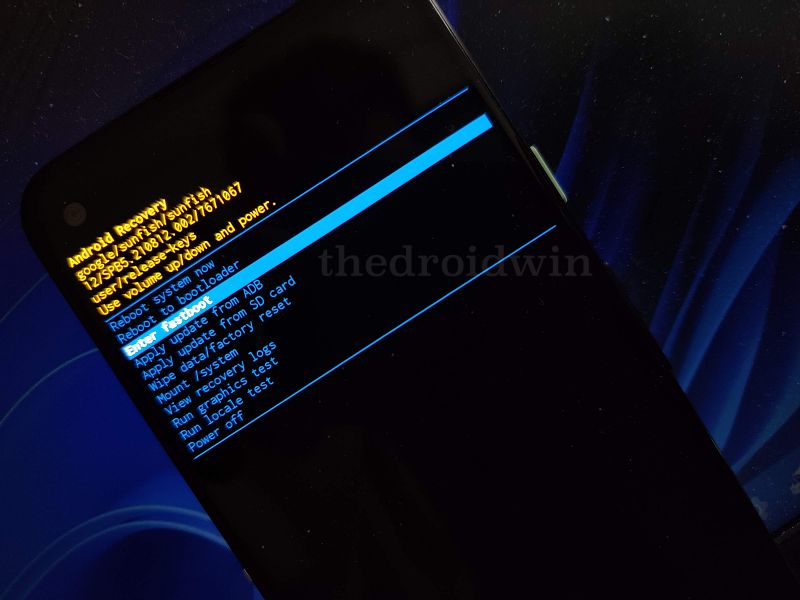
Reboot to Bootloader
Recovery Mode also gives you the option to reboot to the Bootloader, more popularly known as Fastboot Mode. However, if your intention is to directly access the Bootloader, then there’s no need to first boot to Recovery and then access Fastboot, instead, you could use the adb reboot bootloader and your device will directly boot to the Bootloader.

Reboot to FastbootD
Along the same lines, you could access the FastbootD Mode from the Recovery Mode itself. Again, if you are planning to directly boot to FastbootD Mode, then use the adb reboot fastboot command instead of taking the longer route of first booting to the Recovery Mode.
Factory Reset
You may also factory reset the device from the Recovery Mode, though a much shorter approach will be to do so from the Settings menu.
Mount System Partition
You could also unmount and remount the system partition if it has been corrupted and your device is unable to boot to the OS.
Custom Recovery
If you are among the tech enthusiasts, then probably you might already have a custom recovery installed on your device or would have used one in the past. For the unaware, a custom recovery is installed on an unlocked bootloader and beholds tons of useful yet advanced functionalities, such as the ability to flash ZIP files [custom ROMs, kernels, Magisk, etc] and take a backup of all the partitions on your device via Nandroid Backup, among others. In this regard, TWRP is the most popular custom recovery, followed by OrangeFox and PitchBlack.

Apart from that, nowadays, many AOSP ROMs [LineageOS, crDroid, EvolutionX, etc] come with their own custom recovery as well. All these recoveries are nearly identical but fall short on the features when compared with the TWRP. In these recoveries, you can only flash files via ADB sideload, which means that you’ll always have to take the help of a PC, you cannot simply browse the internal storage of your device, pick up a file, and flash a file, something that TWRP supports right out of the box and is its USP.
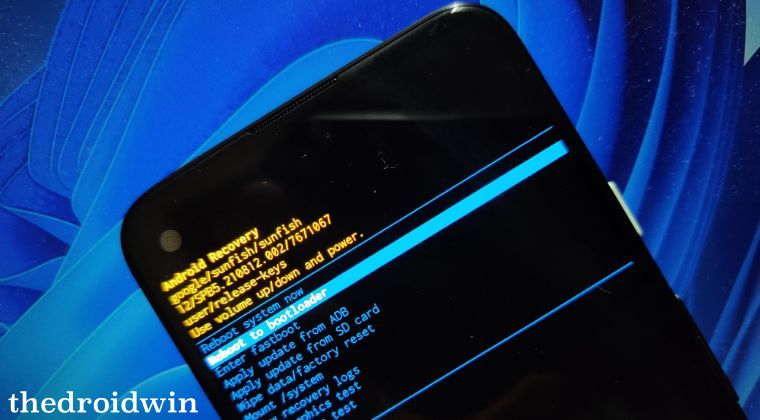
How to Boot Android Devices to Recovery Mode [Custom/Stock]
There exists a total of four methods through which you can boot your Android device to Recovery Mode and we have listed all of them below. Go through each of them once and then try out the one that is in sync with your requirements. NOTE: irrespective of the fact whether your device has stock or custom recovery, the steps will be the same for both.
Via Hardware Key Combination
Benefit: This method doesn't require the use of a PC. Moreover, this is the only method that would work if your device is in a bootlooped or soft bricked state.
Drawback: Every OEM usually follows a different path when it comes to booting to Recovery Mode. So there's "no universal rule that fits all devices".
- Press the Power button to bring up the Power menu. Then select Power off.
- Now press and hold the Power and Volume Up keys for a few seconds.
- Check if your device boots to Recovery Mode. If it doesn’t, then try the Power and Volume Down keys.
- Even if that doesn’t work, then use the Power, Volume Up, and Volume Down keys together.
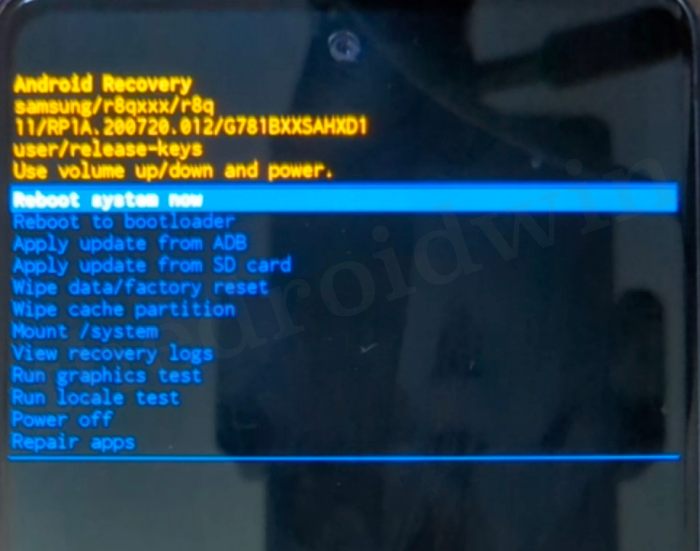
For Samsung Devices
Booting a Samsung device to recovery mode is slightly different when compared to other Android devices. Here’s what you need to do in case you own a Samsung phone:
- To begin with, power off your device.
- Then plug one end of the USB cable to your PC but do not plug the other end to the device.
- Instead, press and hold the Power + Volume Up keys together.
- While holding both these keys, insert the other end of the USB Cable to your phone.
- Your device will now boot to the recovery mode and you may now release the pressed keys.
Via ADB Command
Benefit: It's a universal method and applicable across all Android devices, irrspective of the OEM and the Android version.
Drawback: It requires the use of a PC and will not work on bricked or bootlooped devices. This is becuase none of the ADB Commands wil work if your device is currently bricked and you'll have to take the help of Fastboot Commands to unbrick your device.
- Download and extract Android SDK Platform Tools on your PC.
- Then enable USB Debugging on your device and connect it to PC.
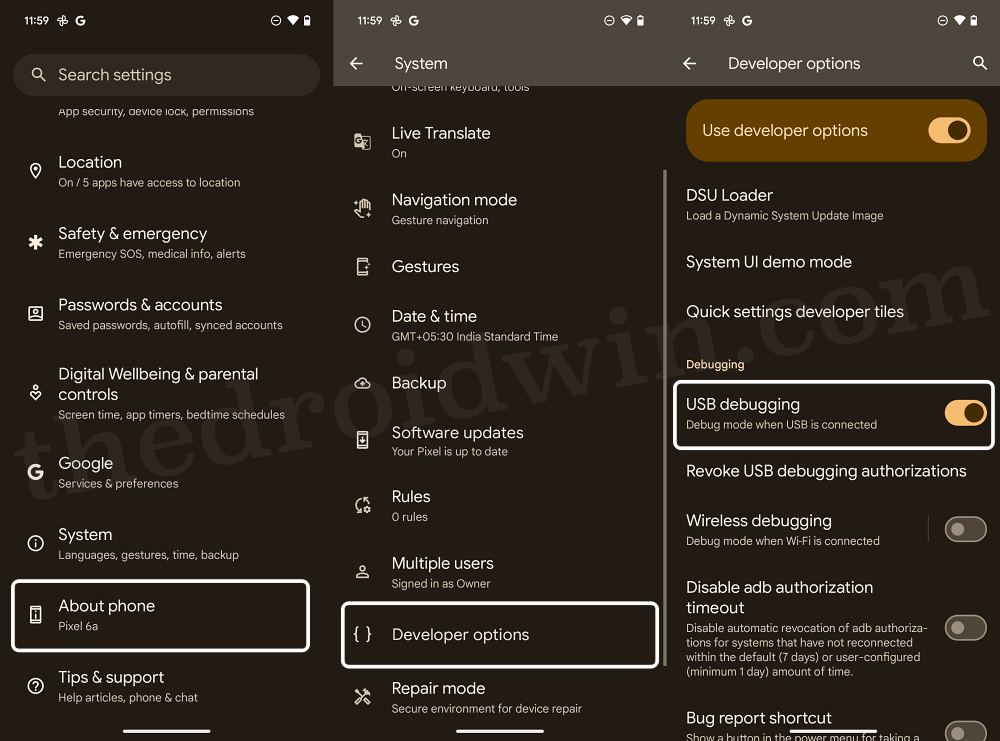
- Now open the Command Prompt inside the platform-tools folder.
- Then type in the below command in the CMD window and hit Enter:
adb devices

- Make sure you get a serial ID, if you don’t, then try to fix ADB errors.
- Finally, use the below command to boot your device to Recovery Mode:
adb reboot recovery
From Fastboot Mode
Benefit: From the Fastboot Mode, you just need to execute a single line of command to boot to Recovery Mode.
Drawback: If you are just planning to boot to Recovery, then there's not much sense in first booting to Fastboot Mode as it will only end up lengthening the process even further.
- Download and extract Android SDK Platform Tools on your PC.
- Then enable USB Debugging on your device and connect it to PC.
- Now open the Command Prompt inside the platform-tools folder.
- Then type in the below command to boot your device to Fastboot:
adb reboot bootloader
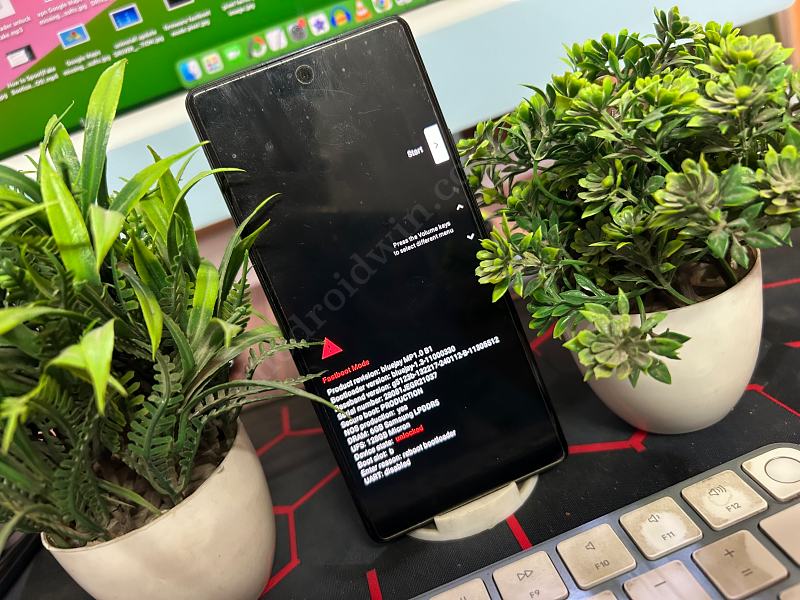
- Type the below command and make sure you are getting serial ID:
fastboot devices
- If you aren’t, then please install the Fastboot Drivers on your PC.
- Finally, type in the below command to boot your device Recovery:
fastboot reboot recovery
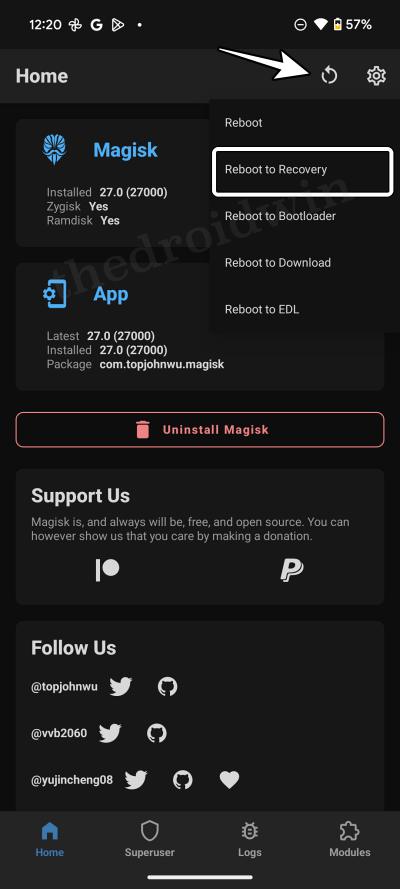
Using Third-Party App
Benefit: This is the shortest and easiest of the four methods listed in this guide.
Drawback: It requires root. Rooting the device just for the sake of booting to Recovery Mode doesn't make any sense whatsoever.
While there exist quite a few third-party rooted apps that allow you to boot to Recovery, however, you might not even have to install any of these additional ones as Magisk already supports this functionality out of the box. Here’s how to make full use of this feature:
- To begin with, launch the Magisk app on your device.
- Then tap on the Reboot icon present at the top right.
- Finally, choose Recovery from the drop-down menu.
That’s it. These were the four different methods through which you can boot your Android device to the Recovery, both the stock as well as a custom one like TWRP. If you have any queries with regard to any of the form methods listed above, do let us know in the comments. We will get back to you with a solution as soon as possible.